


11-10-2020
My first tool restorations
Click the image to step through.
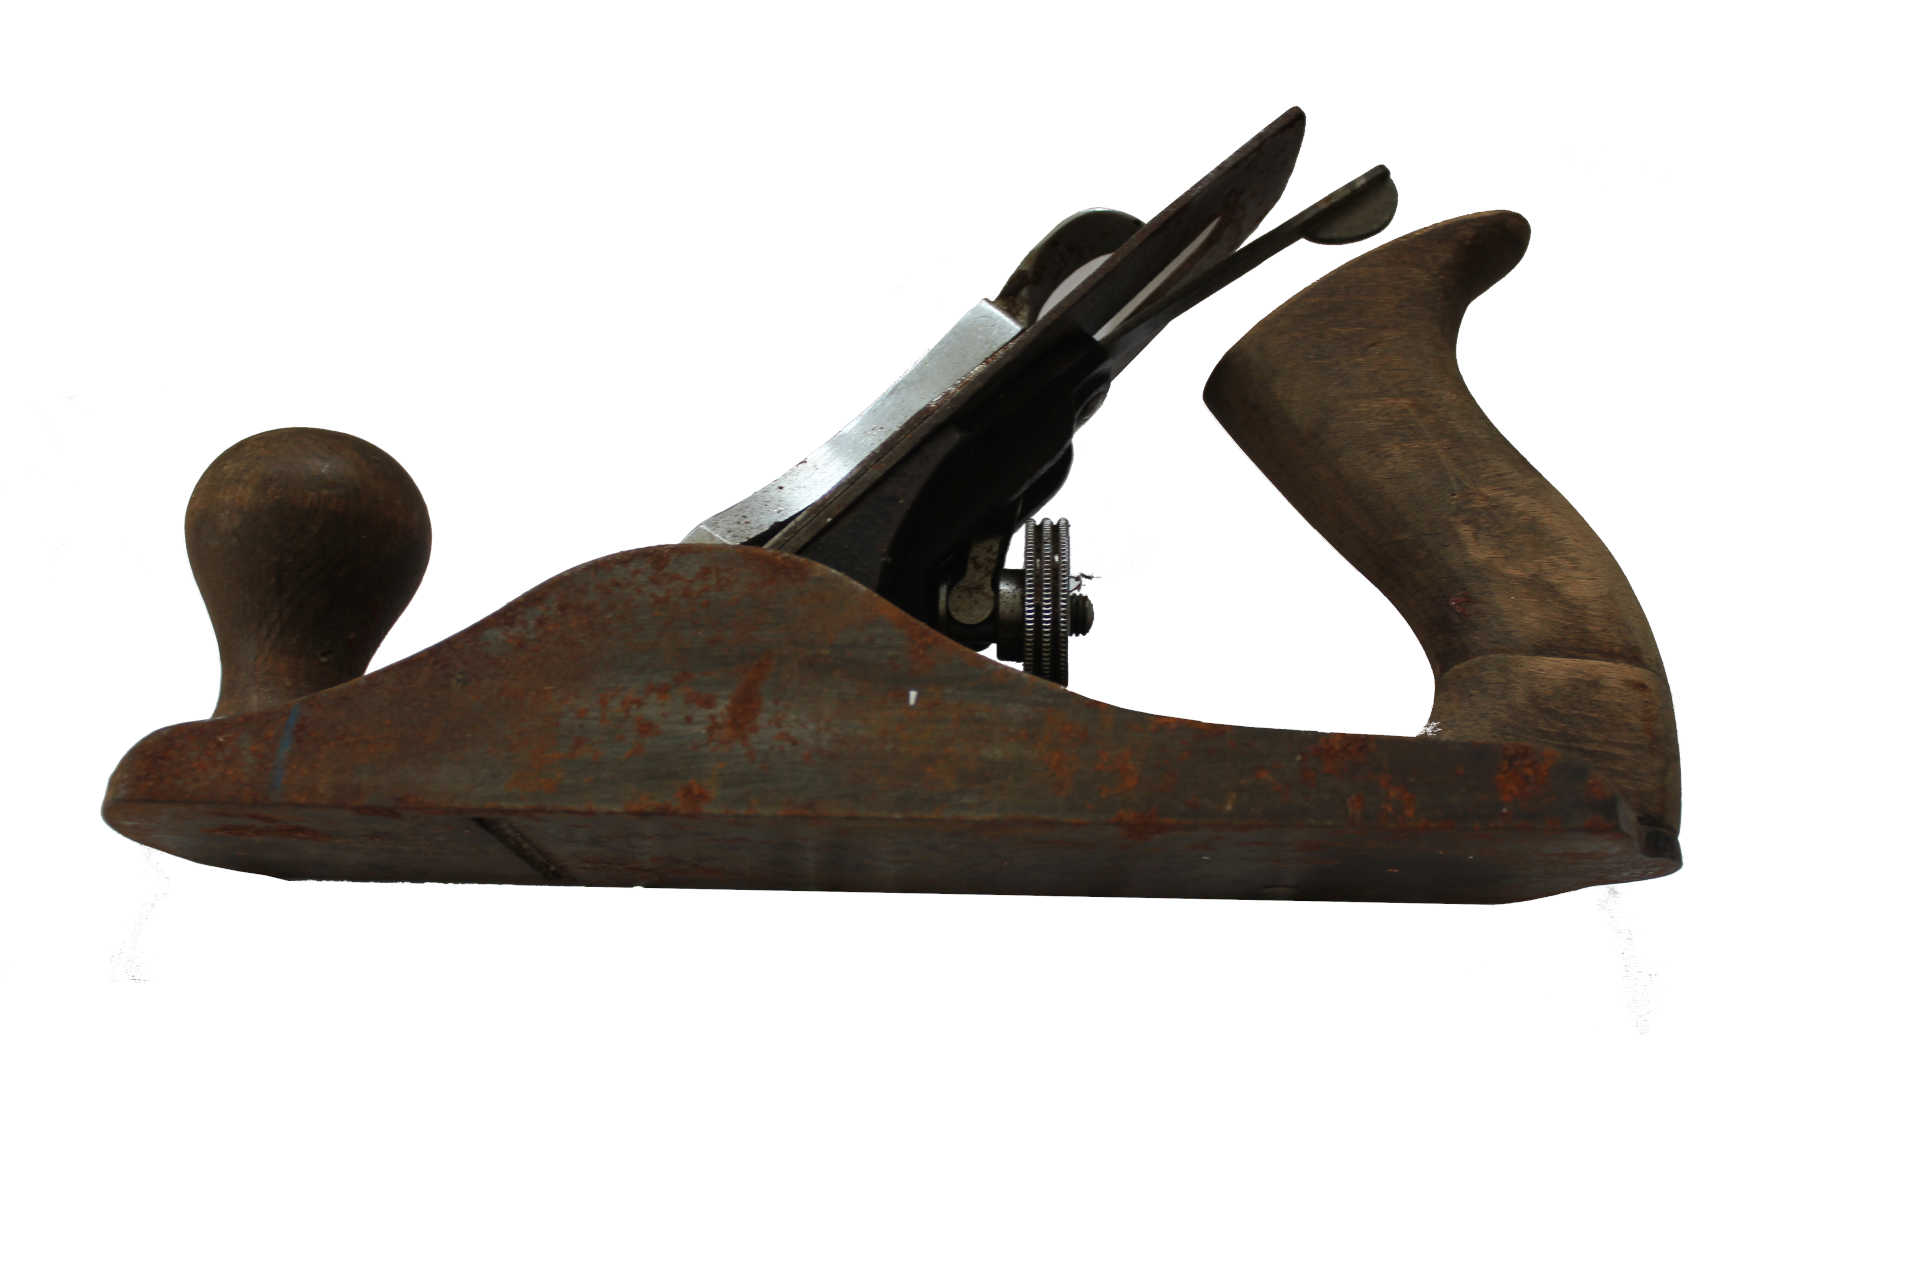
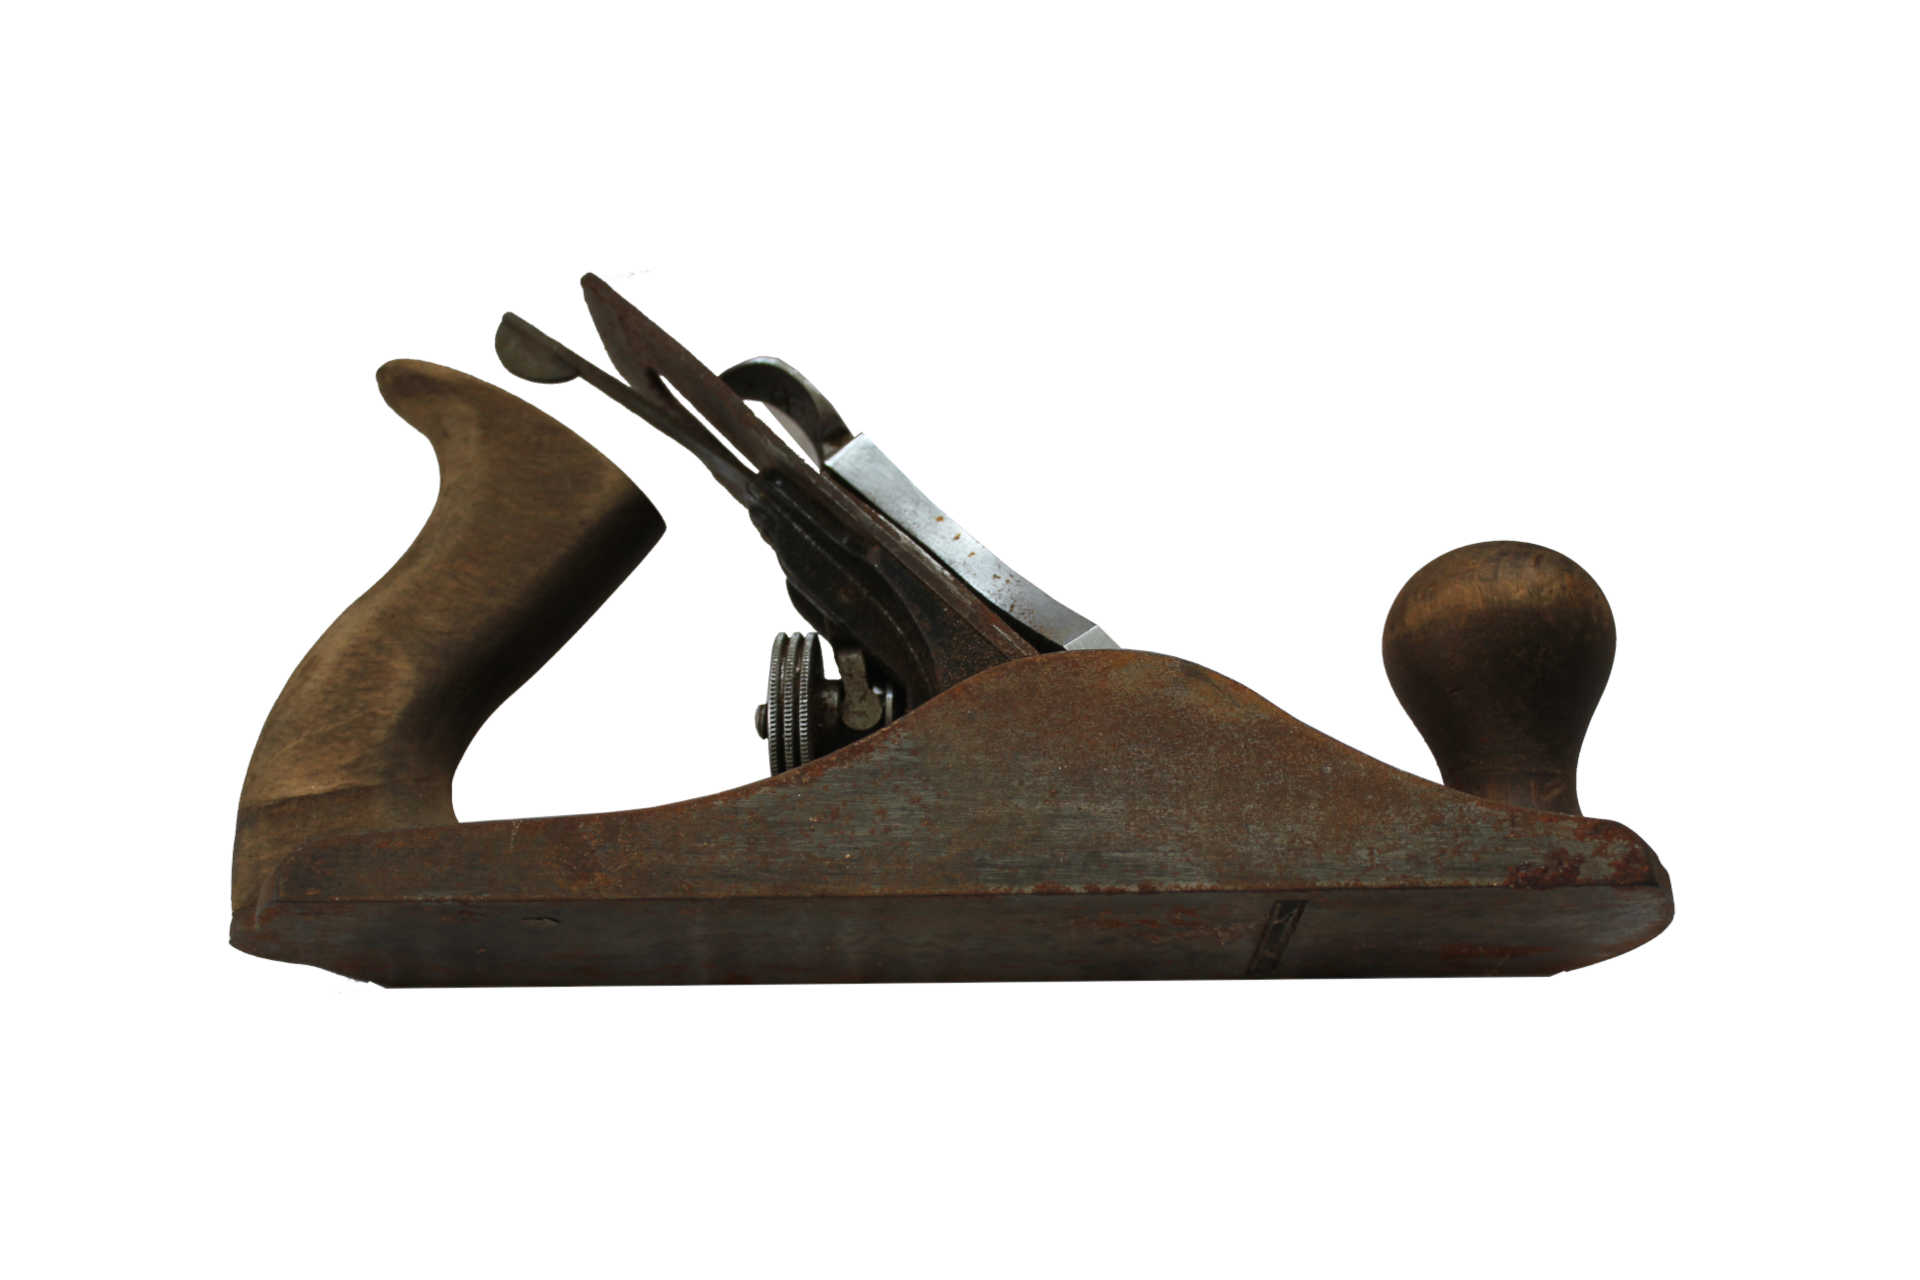
The rust bucket
After watching an article on The Repair Shop where they used electricity to de-rust an extremely rusty set of hinges I thought that it might be worth a try so I purloined a couple of tools from the rusty collection of donated tools.
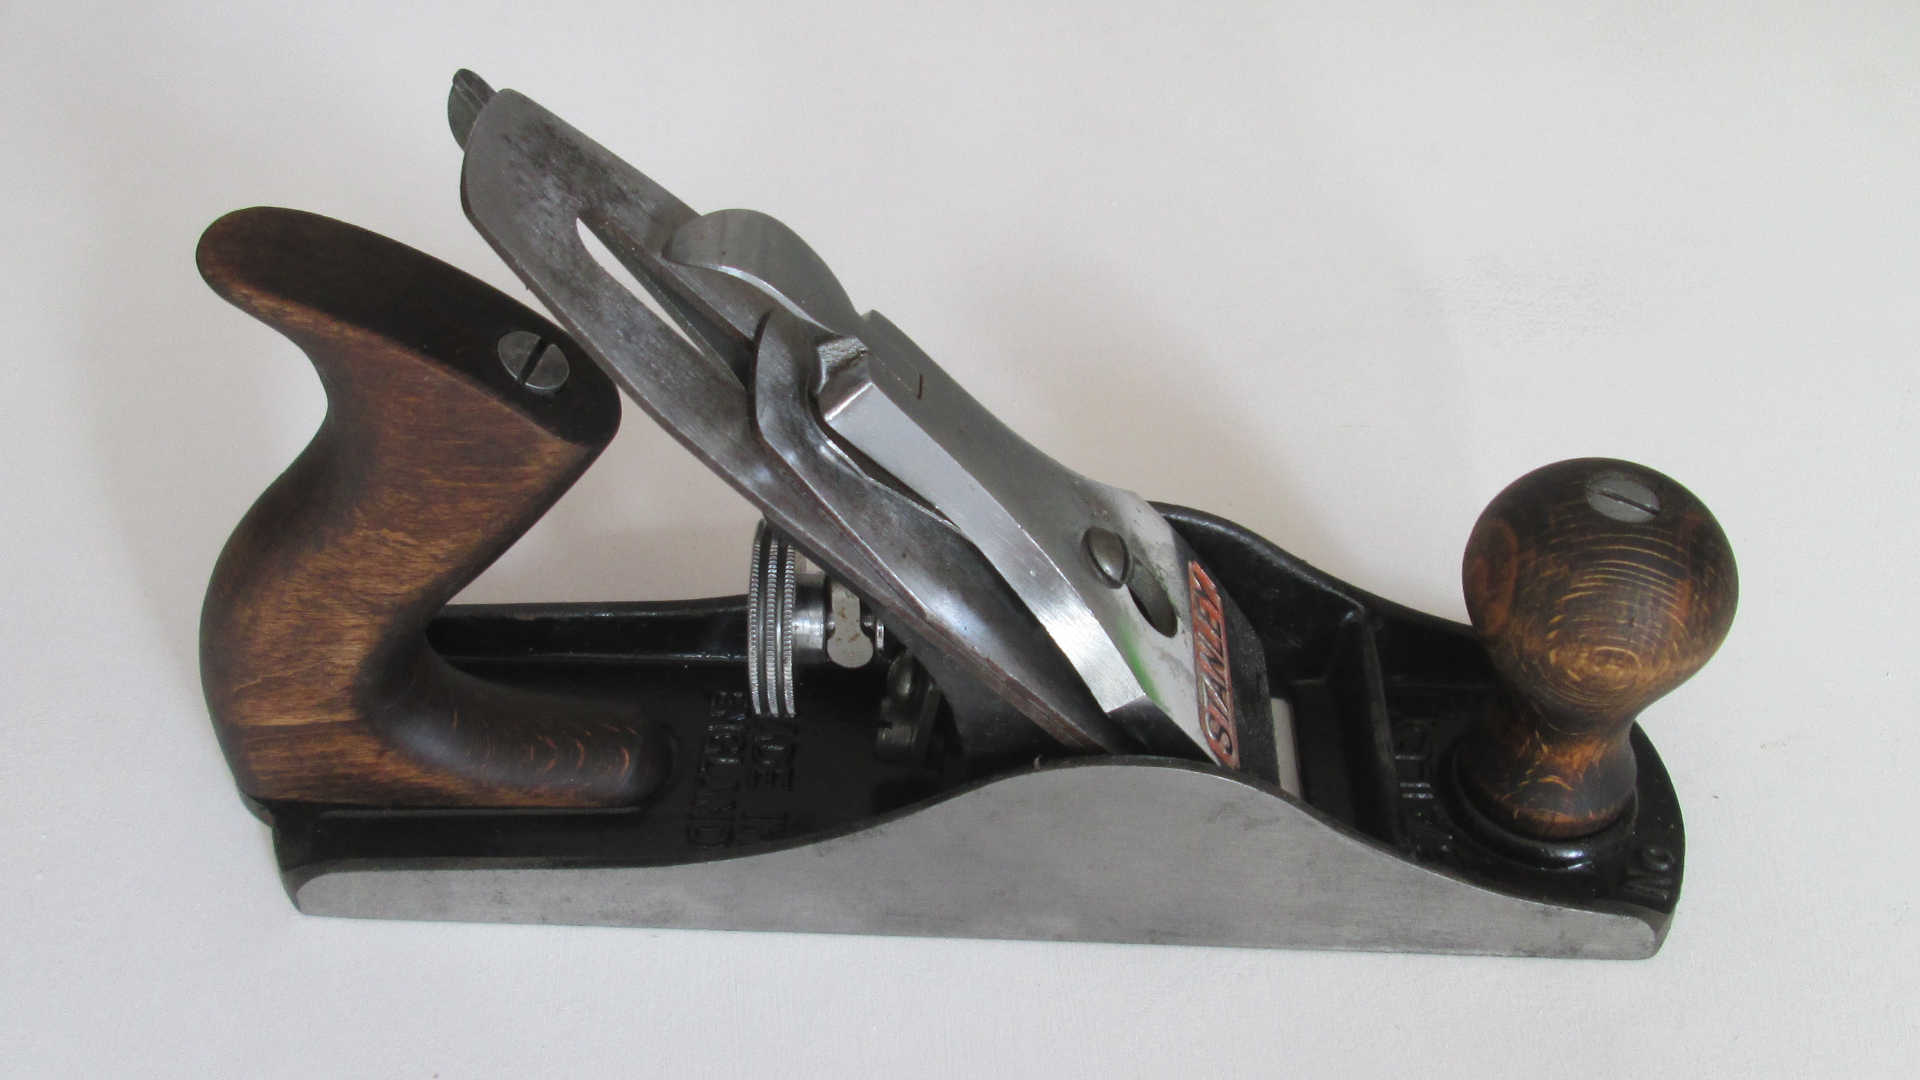
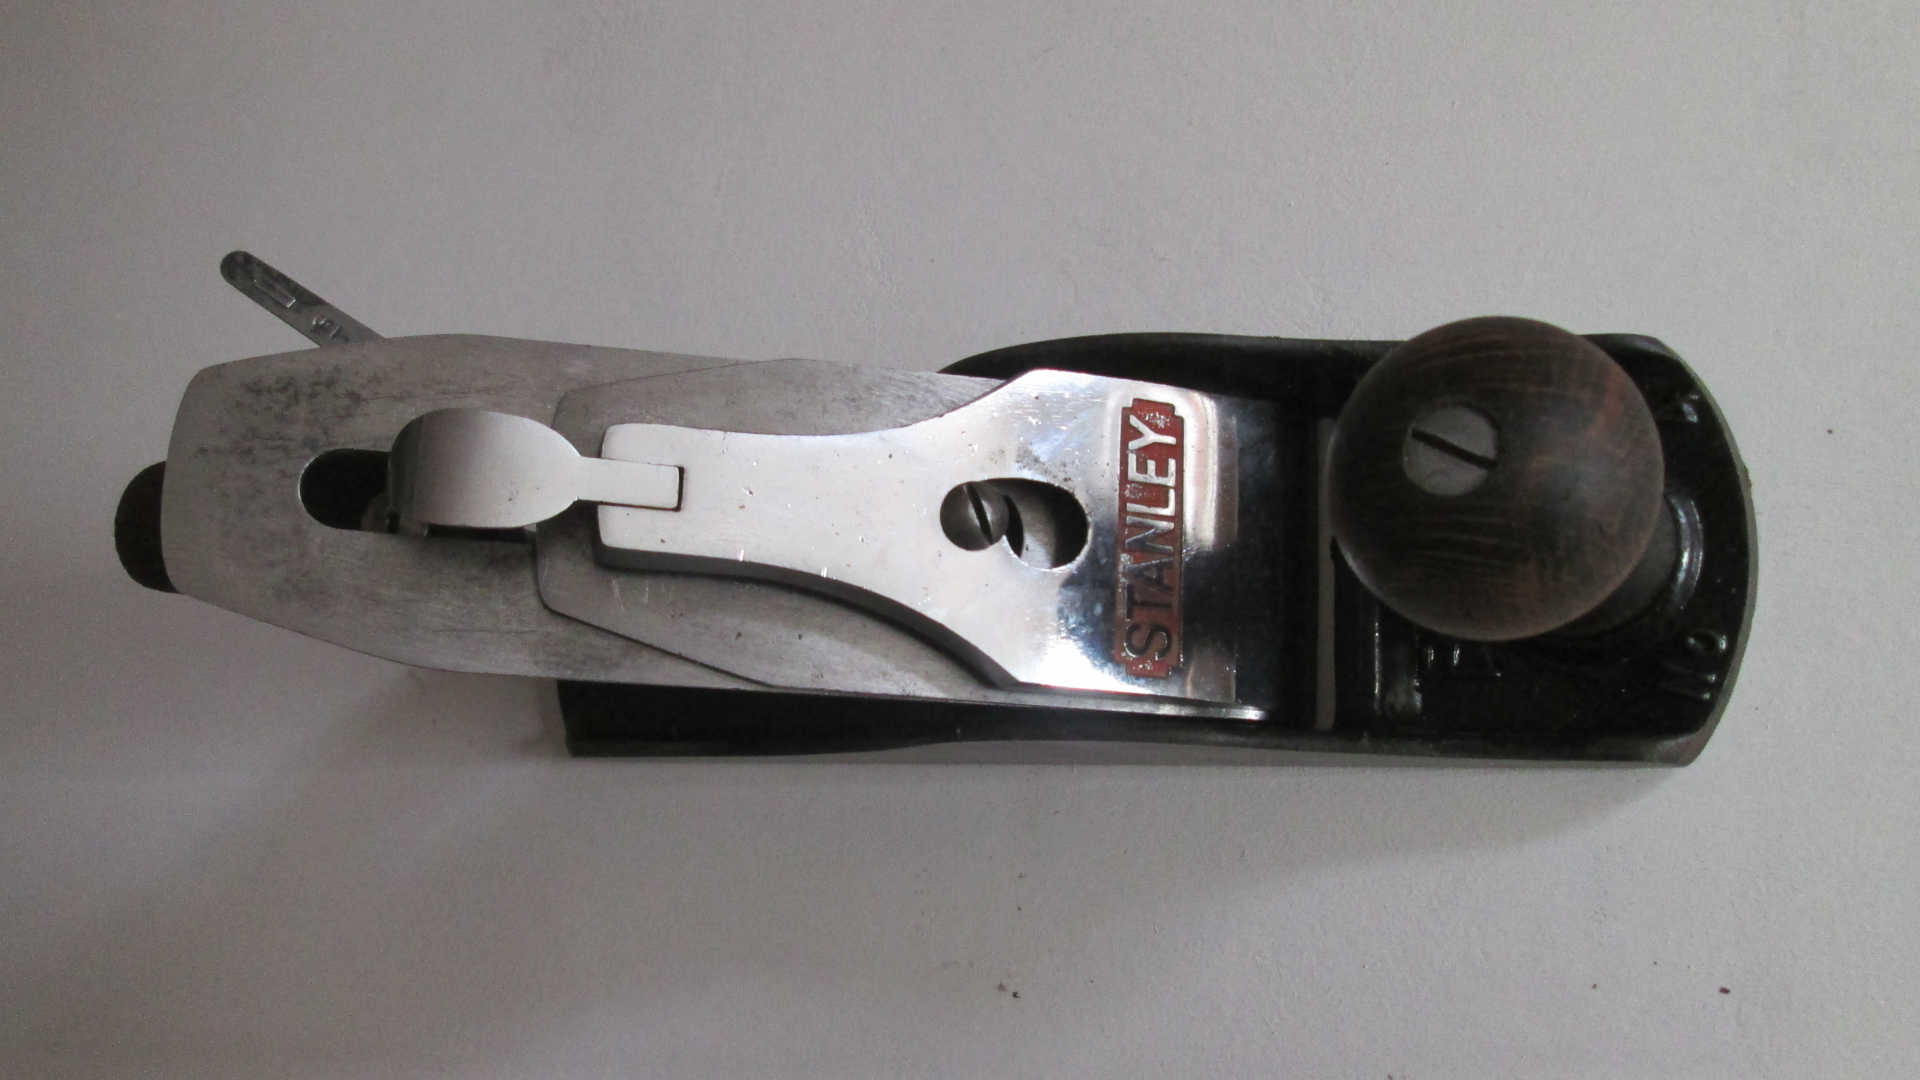
Started by trying the plane but it wasn't really rusty ENOUGH to work very well so a quick bounce onto You Tube to find out how to renovate one. About 3 hours later the thing was transformed. All that was needed was a bit of sandpaper, a spot of black Hammerite silk smooth finish, a touch of teak oil and it was totally transformed. All I need to do now is to get Alan or Chris to sharpen and adjust the blade.
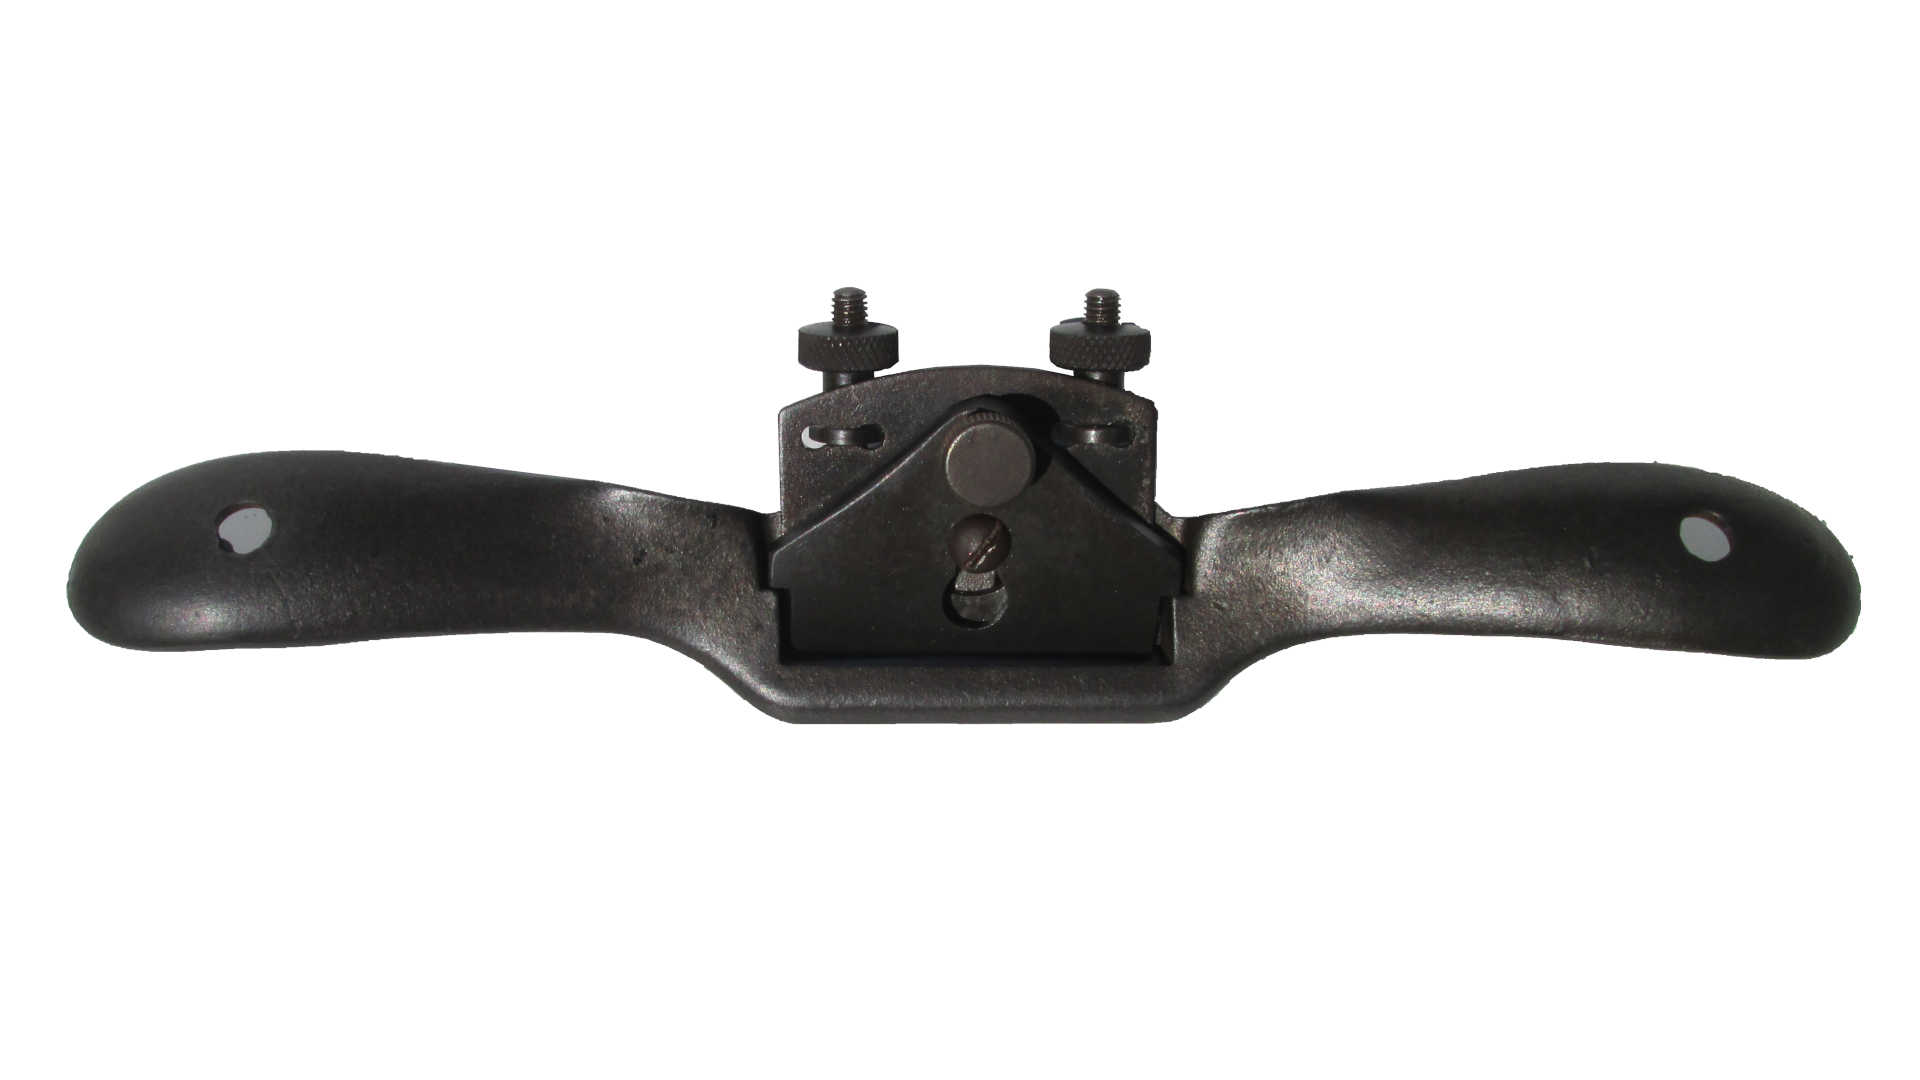
The renovated spokeshave
The more interesting one was the spokeshave - now this was really in a mess, in fact it took a reasonable amount of effort just to dismantle it. I really must take notice of what I tell everybody when starting a project - TAKE PICTURES - I forgot so can't show the start of the clean.
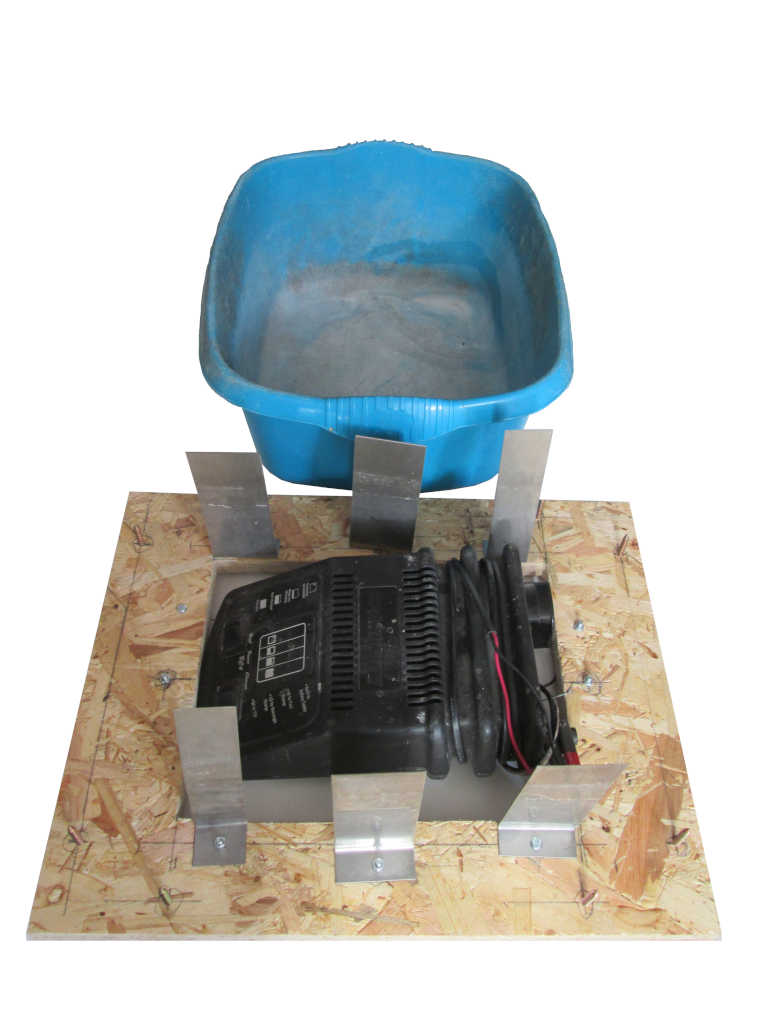
The electrolytic bath components (3 images)
Spoke with Rod and it turned out that he had some stainless steel strips left over from when we refurbished the Shed. Mike and Colin set to and made the wooden former to mount the electronics and the Boss gave me an old washing up bowl and a packet of washing soda (sodium carbonate). Luckily I had a spare battery charger at home.
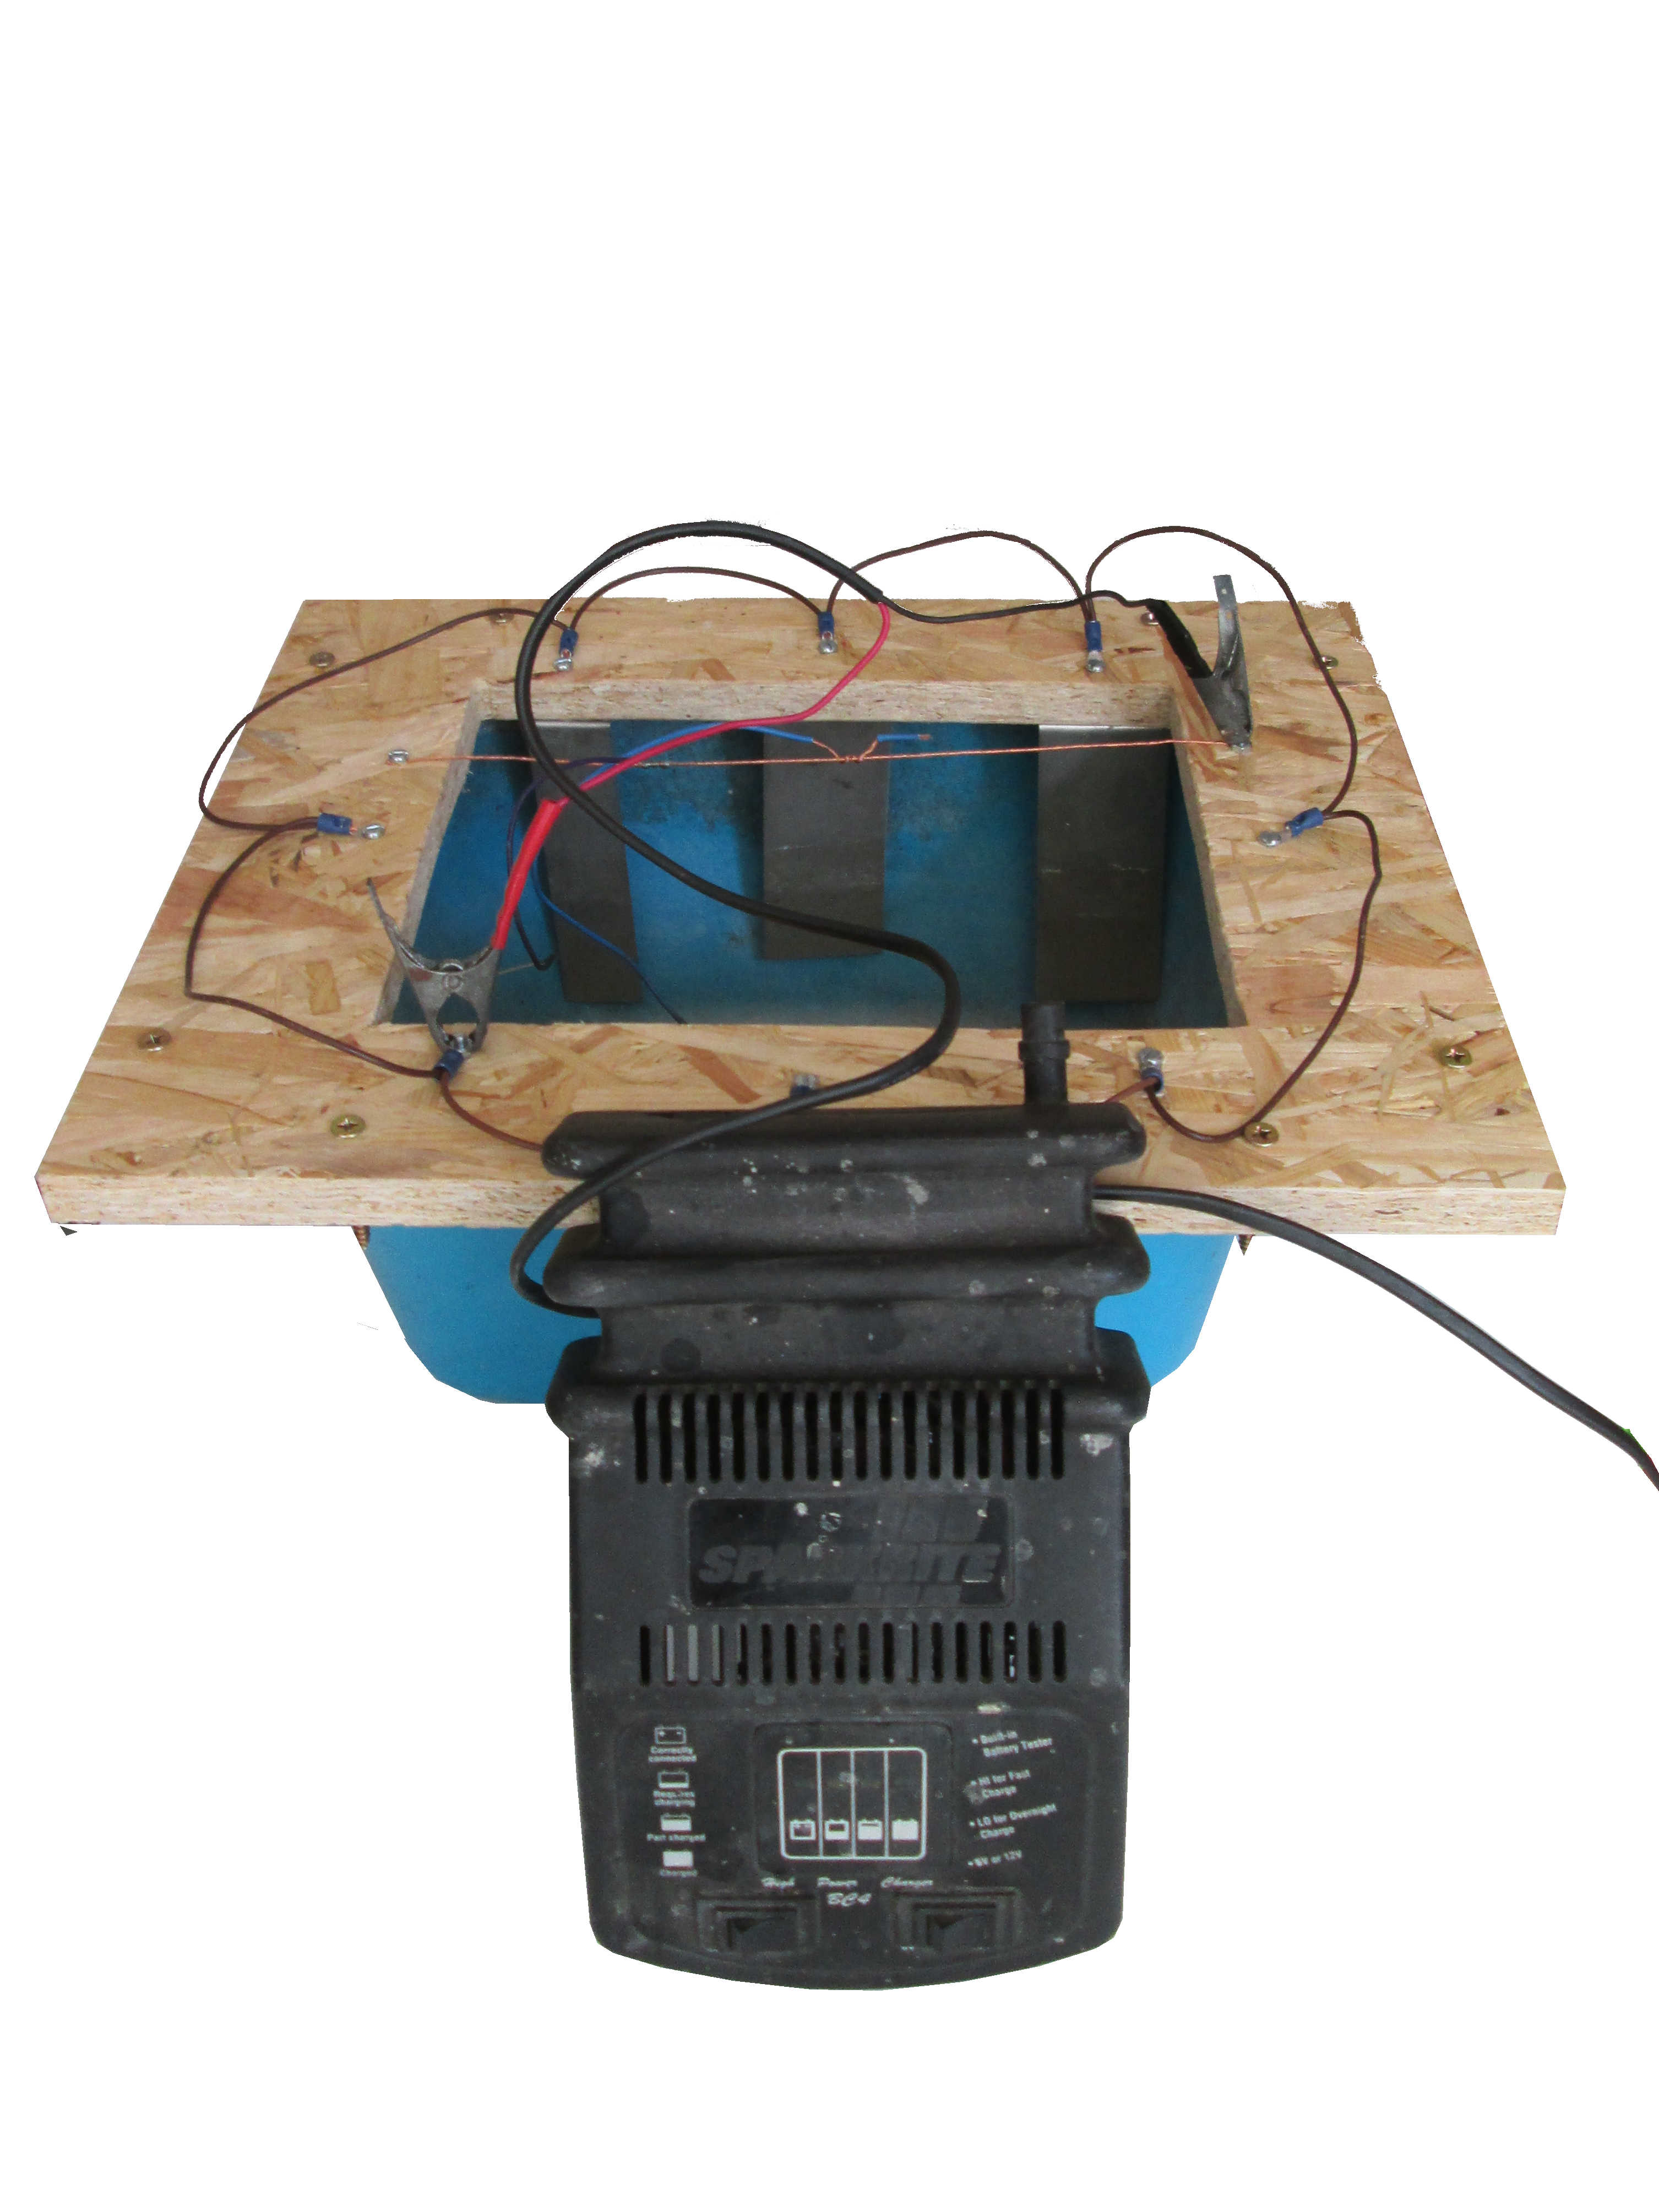
Started by putting a few long screws through the former to stop it falling off of the bowl, mounted the stainless strips (I used half a dozen of them because they were there and it would give a more even distribution of the current) wired them all together with one screw sticking out to clip the positive lead to (my wires came out of an old mains cable so I used brown in place of red and blue in place of black). Ran an uninsulated piece of wire across the middle to hang the parts from and connected that to the negative terminal. Filled the bowl with about 2 litres of water and about 2 tablespoonsful of washing soda. Plugged the lot in and watched the bubbles.
About an hour later, as if by magic the rust had virtually disappeared. A quick dry and rub with some fairly coarse wirewool and all was looking good but how to protect the parts?
I made sure that all of the parts were clean and really well degreased, I made sure NOT to touch anything with bare pinkys and then into riflemakers blue for about 10 minutes, dropped into an oil bath to cancel the reaction and it left a nice even shean. The hadle was a bit more of a problem so a spot of the good old cast iron black polish and voila.
It was really worth doing - I felt that I had achieved something new and shall now pass the items to Richard to see if I have enhanced their worth. Don't really care if I haven't - I think that they are worth keeping in the Shed now even if they aren't worth putting on eBay.
If anybody else fancies having a go there are plenty of tools that would benefit from a bit of tlc and it can be done in the garage at real minimal cost.
Chris Nixon